Since it's been taking me awhile to get back into a routine, what better way to get back to it than a diy of this season's hottest trend? Every where you look, the 70's inspired peasant top seems to be all the rage and the options are limitless! I'm finding a new love for 70s with their high-waisted flares, jumpsuits, free-flowing tops and dresses, and I've been wanting a peasant top ever since they found their way to stores earlier this year. Luckily these are really easy to sew yourself!
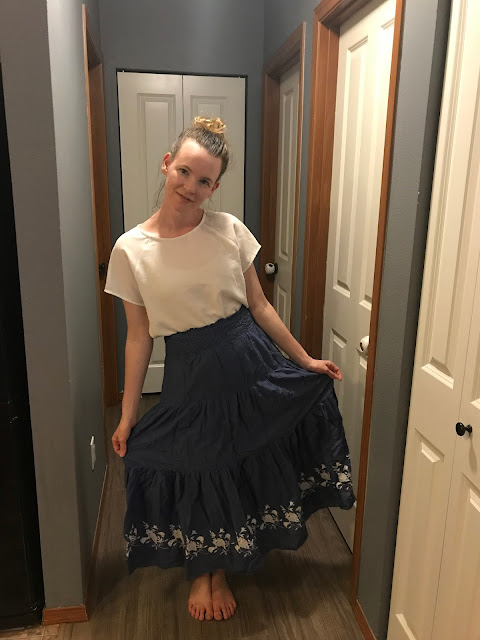
I found this maxi skirt a couple of months ago when I made a trip to my local Value Village. I was rather surprised to find it on the rack, especially since it was only a $1.99! The embroidery is so pretty and I fell in love with it immediately. Plus, the waist was smocked so it made it all the easier to transition into a cute top. Here's a good look at the before!
Definitely dated, but so cute! Since before and afters are simply the best, here's a look of all the fun being had in my new top at Hello, Cupcake. (Scroll to the bottom of this post for the tutorial!)
I'm seriously in love with this top. Now I just need to find the right pair of white skinny jeans to go with it!
Want to make your own? Too easy! Here's what you need:
Materials:
- Scissors
- Seam ripper
- Thread
- Sewing Machine
Step 1:
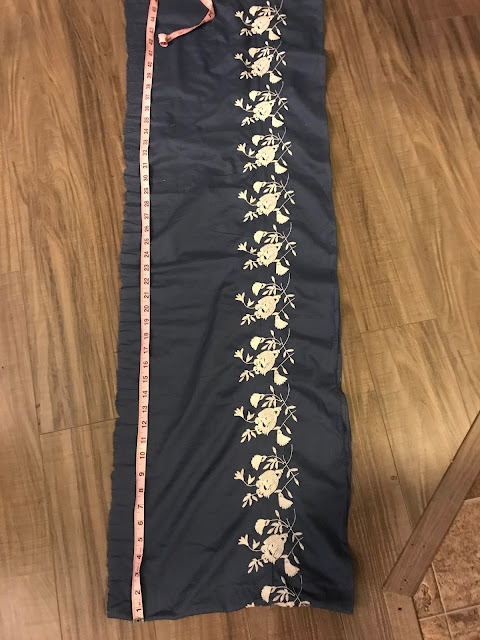
Try on for length and width. Remove the bottom panel of the maxi skirt (where the embroidery is), this should leave enough length.
Measure your embroidery piece to be slightly larger than the circumference of the top of the skirt. Take the raw edges, with right sides facing, and sew down the raw edges to make a tube.
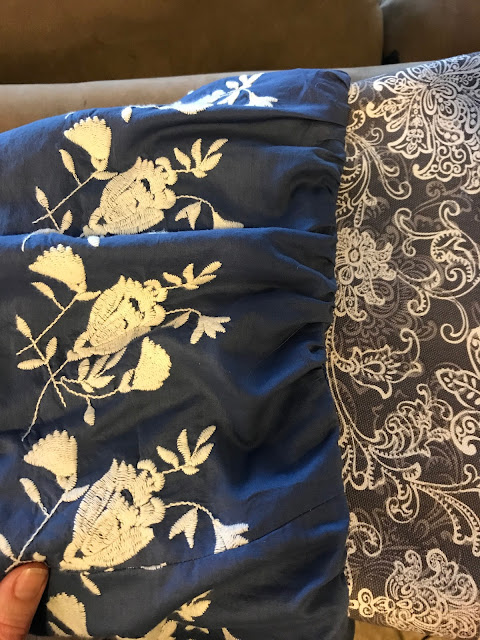
Make sure your embroidered piece is the length you want. Mine was a little longer than I wanted so I removed a couple of inches from the top. Then you'll want to sew a basting stitch for gathering. Gather to fit the size of the skirt.
After sewing, flip the embroidered piece out and iron.
Step 5:
Next, I hemmed the embroidered piece at the bottom to bring it up a little more. This step is optional.
Step 5:
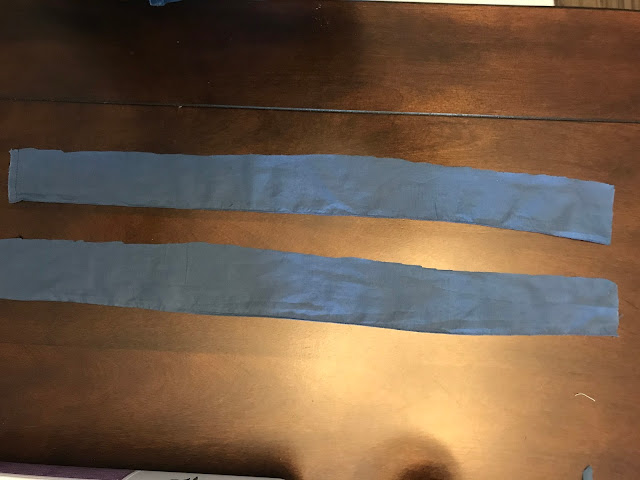
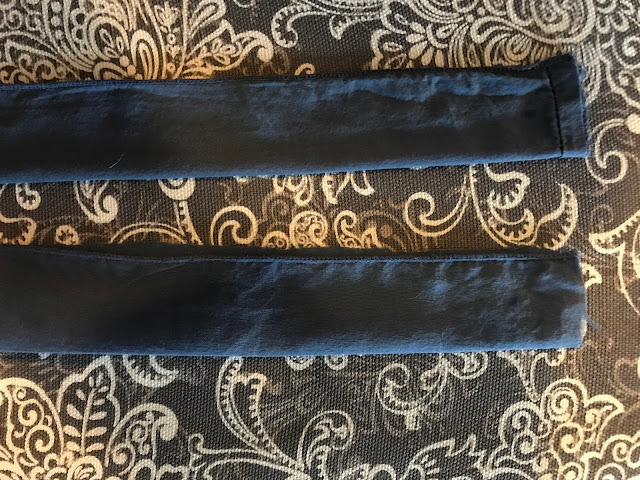
Now we want to take our scraps and create our straps! I made mine 2 inches wide, folded them in half, and then sewed about a 1/2 inch down the raw edges, leaving one end open to turn them right side out. Turn them right side out, iron, and top stitch all of the edges. The section with the raw edge will be placed in the shirt and sewn. I tried on my top and marked the straps with safety pins. Secure them well and you're done!
Too easy! Love this tutorial? Let me know what you make and stick around for other refashions coming soon!
\







No comments :
Post a Comment