Lately, I've been feeling a little under the weather so keeping up with things around the house has kept me plenty busy. However, I've really been wanting to tackle my ironing board cover. I've been complaining about how gross it was for months and I kept saying that I was going to redo it but kept being pushed to the bottom of my to do list.
Last week, I needed to run to Walmart to buy thread and while I was there, I found a silver, gray, and white floral fabric that matched my upcycled computer/sewing desk perfectly. The bolt price was listed at a great price ($3.97 a yd) so it was an easy decision to take this lovely fabric home with me. I decided to purchase three yards and was pleasantly surprised to find that the fabric was even less than the bolt price bringing the total cost to $7.96. Now I have plenty of extra fabric to update other projects around the house as well!
Here's what my ironing board looked like before (please don't judge me - I know that it's terrible!):
 |
| This drives me crazy when I am ironing! |
And here is what it looks like after. So. Much. Better.
 |
| A close up of the design (and a project for a friend). |
So, here's how you do it!
HOW TO:
First, we need to make sure that we have all of our supplies:
- Scissors
- Thread
- 2 yds of cotton duck fabric
- 1/4" elastic
- Safety pin
- Pins
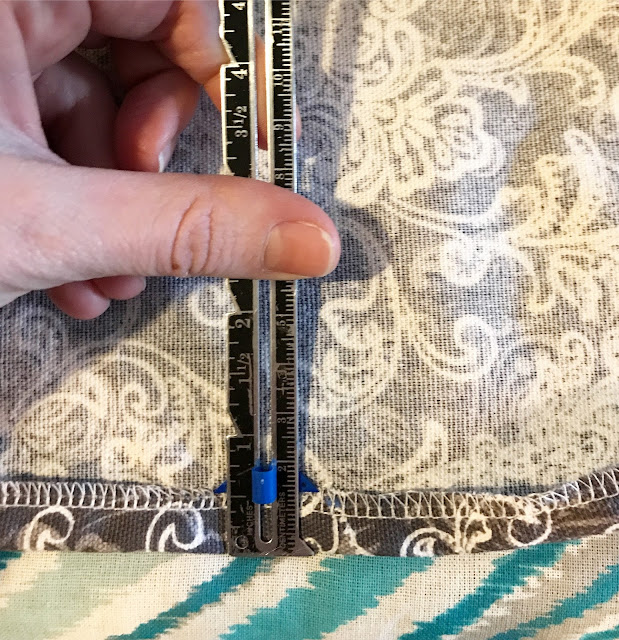
- Hem gauge
- Sewing Machine(s)
Now, let's get started!
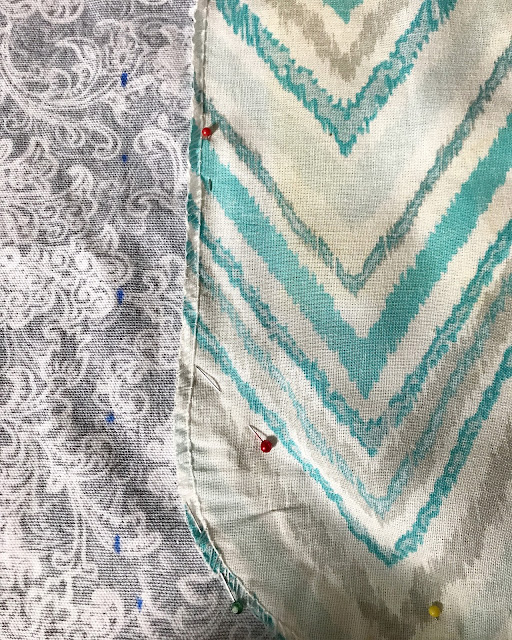
- Take off your old ironing board cover and lay it over your fabric. You're going to mark the back of the fabric, so lay your fabric right side down.

3.) Time to cut your fabric!
4.) Then I serged all the way around the fabric. If you don't have a serger, you can do a zigzag stitch instead.
5.) Fold over half an inch, iron, and pin.
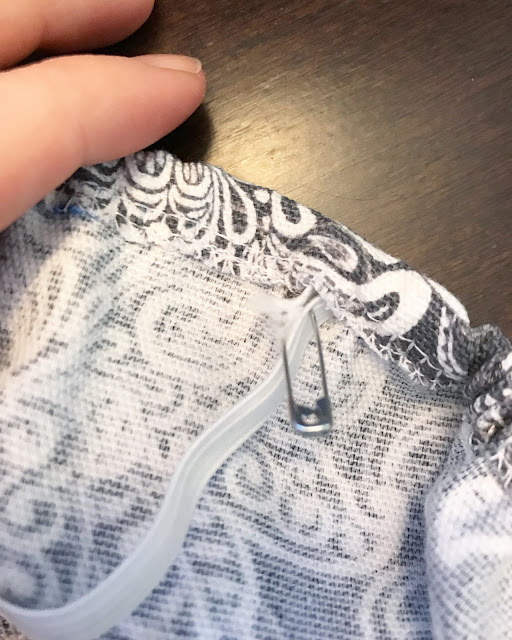
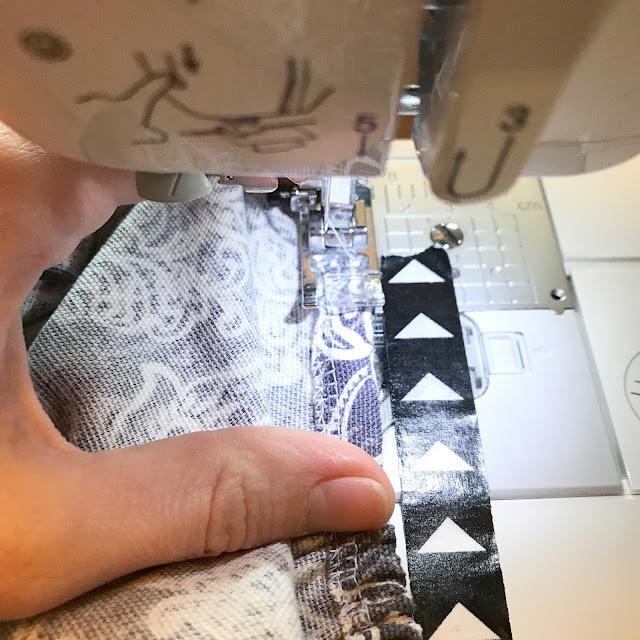
6.) Sew along the serged/zigzag edge leaving a space open to thread the elastic.
7.) Thread the elastic through. I made mine a little loose along the neck of the ironing board and I wish that I made is a little tighter. After feeding your elastic through, try it on the ironing board to see if there are sections that need to be made a little tighter/looser.
8.) Once you've determined the elasticity, sew the elastic together and close the opening of the casing.
That's it - you're done! I love how easy it is to update your ironing board and have a fun, coordinating fabric for your home. Now, hopefully, I'll get to tackling those bigger projects soon - eek!
Happy Sewing!


No comments :
Post a Comment