Honestly, the last few months have been tough and this week has been especially stressful which made it difficult to sit down and write a post this week. Sometimes, refashioning and sewing is just the stress relief that I need but when faced with the technical aspect of sharing, sometimes I get a little stumped and procrastinate. I didn't know what I was going to say about this dress all week so, I've prayed about it and am hoping that the words flow and resonates with your heart, too.
The last two years have been a cycle of two steps forward and three steps back and through this I've learned that there's no one that I would rather lean into than Christ. Sometimes though, I'm human and the stress of adult life feels like a ton of bricks on my chest, even if I know that everything is going to be alright. This week I felt especially defeated. I think it kind of surprised my husband when we were talking the other day about a particular situation and I commented that no matter how you rolled the dice, it was a no win, do not pass go, kind of deal. Normally, I'm a we'll-figure-it-out kind of girl when faced with adversity but this situation was really beyond us - we couldn't do it on our own. This weekend, I went to bed each night with a heaviness in my chest and lots of prayer. Monday through Tuesday morning, blessings literally seemed to rain down on us and I am so thankful that the Lord gives you just enough when you need it. God has truly blessed us in so many ways over the last two years despite them being such a roller coaster ride. He always seems to carry us when we can't carry ourselves. If it's one thing I've learned, let go and let God.
This dress was a 2 piece suit that was missing it's 2nd piece. I don't think that it made it to the thrift store which is kind of a bummer. I would have loved to see the dress in it's complete, original state. As is, this was a size 14, straight dress. It had a slit on the sides but they were hand stitched to make it a little more modest. This was a little more expensive than my normal refashions, with a $6.99 price tag, but I just loved the 90s blue and white print, that it's rayon, and from Uzbekistan! The Slavic major in me couldn't say no to something from one of the 'stans. Also, has anyone noticed that I'm oddly obsessed with blue this summer? haha.
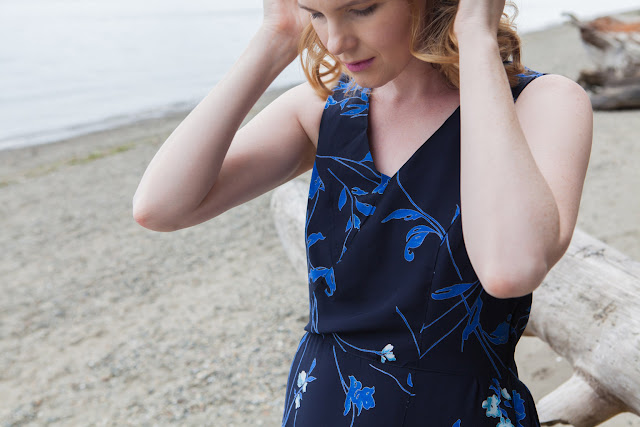
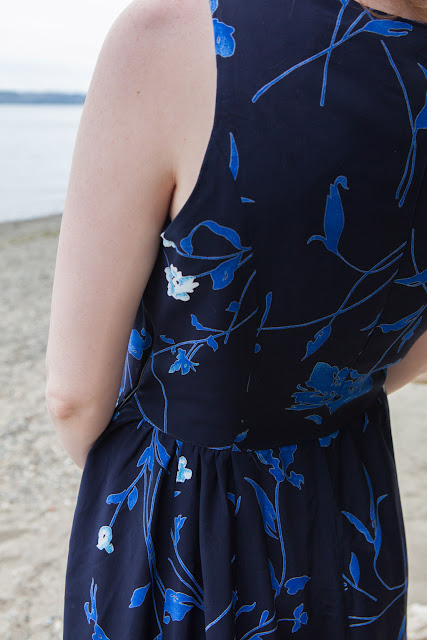
Here's a good look at the before and after. Scroll to the end of this post for a step by step tutorial of how to make your own diy maxi dress!
A special thank you to Stephanie Malilong for capturing all of these beautiful after shots of my dress!
For this diy, you'll need a couple of things:
- Scissors
- Seam Ripper
- Sewing Machine
- Thread
- Dress
Step 1:
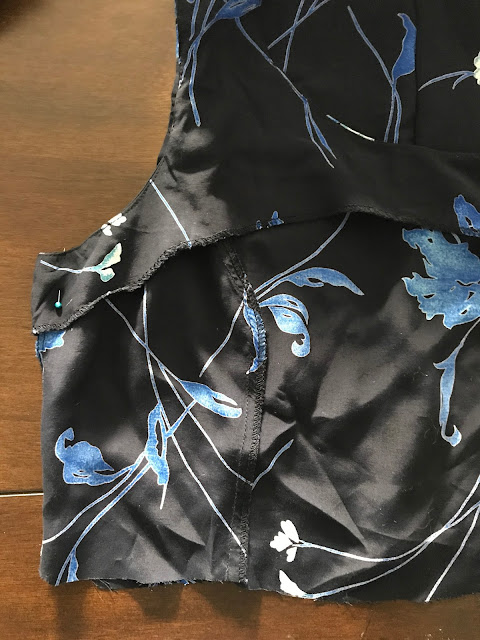
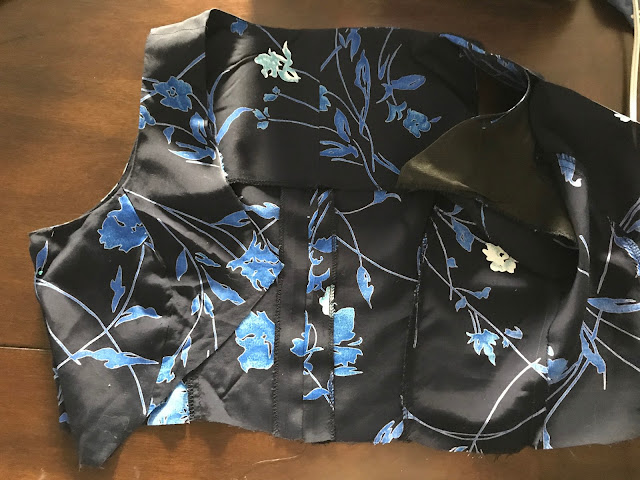
I seam ripped the bodice from the skirt because I knew that I wanted to keep the width of skirt and just gather it to fit the seams of the bodice later. I also removed the zipper and closed the seam of the bodice. After separating, I tried the bodice on to see where it was too big and marked.
Step 3:
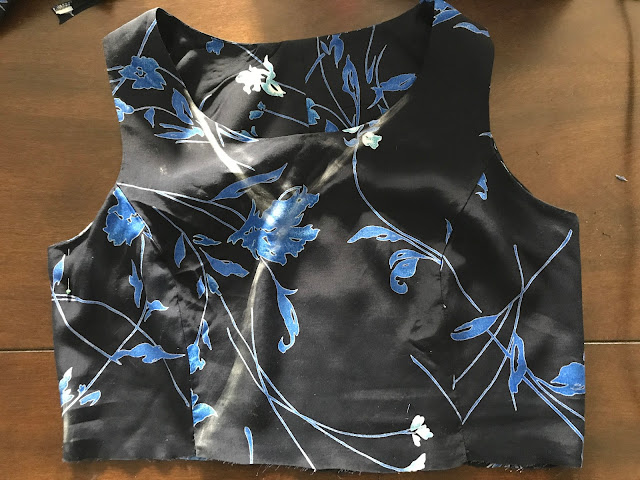
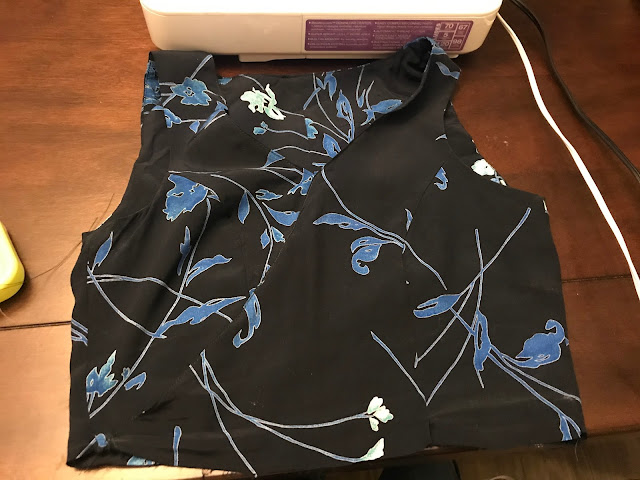
Next, I marked the design that I wanted in the front - a kind of, faux, wrap bodice with a v-neck, and then cut.
Step 4:
Sew the bodice closed by top stitching. If you have enough fabric to create a bias for the inside, this is a good step to add it before closing up the bodice. I also wanted to create the impression of a wrap so I only top stitched the top of the v to a few of inches below the bust so it was flowy but was still modest. I also went over the stitching once more so it couldn't open inappropriately while wearing.
Step 5:
Gather the skirt with a basting stitch, and then attach to the skirt, matching all the seams. Leave an opening on the left for the zipper, if you switch it to the side. Sew the bodice and skirt together.
Step 6:
This step is optional. If you decided to switch your zip, then you will need to insert it and you're done! I also removed the hand stitching that was on the slits when I bought the dress.
This tutorial is quite a bit different than my normal step by step guides. A lot of the changes you make will be based on the dress you'll be refashioning. I hope this tutorial was helpful and inspired you to try updating a dress that you've been hanging onto or really like but want to update.
Until next time!










No comments :
Post a Comment