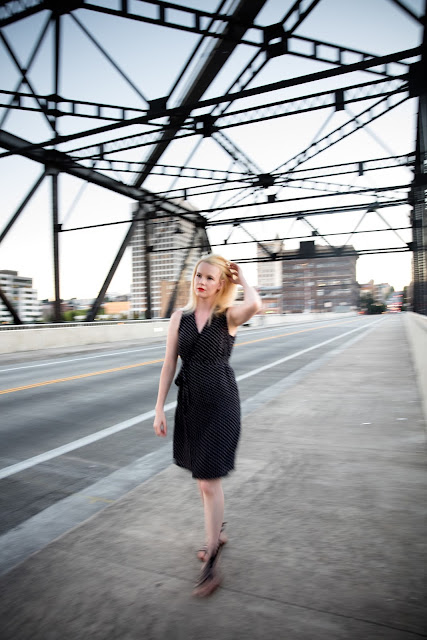
Speaking of collection, I have to say that I am really proud of myself for sticking to my challenge set at the beginning of the summer to sew exclusively from my stash (you can find the challenge here). I've sewn exclusively from my fabric stash this summer - yay! In fact, this DIY wrap dress is from fabric that I thrifted about 6 months ago and only cost $1.99 - score. I love the little flower details on this 90s looking print. The fabric itself is that weird 90s scrunchy material that irons smooth and feels so soft after a good pressing. I just love this wrap dress and have already worn it three times in the last couple of weeks, including to work, and no one could tell that I made it myself. #goalsrealized
To find out how to make this dress, scroll down to the bottom for a tutorial!
Materials:
- Sewing machine
- Fabric (I had a yard and half of wide nap you'll need more if you don't have a wide nap)
- Bias tape
- Ribbon
- Thread
- Scissors
- Pins
- Ruler
- Paper (this could be a paper ad, gift wrap, paper bag, etc.)
- A dress that fits loosely
Step 1:
Find a dress that has a loose, flow-y fit. This is going to be your template to achieve your dress. Mine is a cream colored dress from H&M that is too see-through so I never wear it but love the fit and would love a similar style in a darker color.
Step 2:
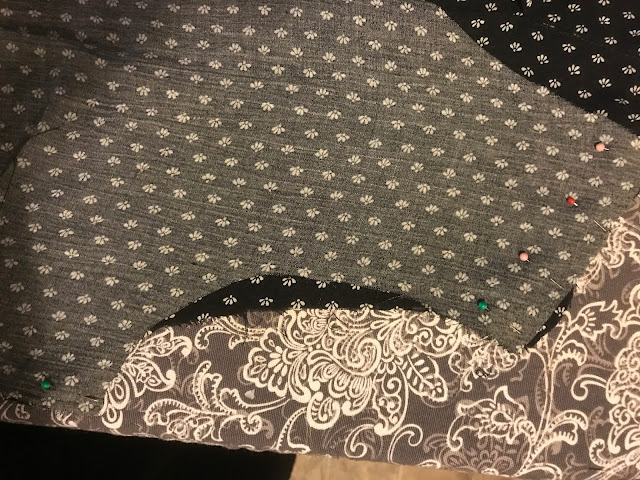
Now we want to lay out our fabric and pin the dress to the fabric marking darts and where you plan to sew the dress ties into the seam. Don't forget to include a seam allowance! For the back piece, fold in and half and pin around the fold (photo 1). I outlined the front piece of the dress and took a picture so it's difficult to see but you'll open up the fabric and cut out piece 1 of the front. After you've cut out piece 1, lay it on the fabric right sides together and cut (photo 2).
Step 3:
Now that we have our pieces cut, we need to sew our darts and any pleats that we have. I added a pleat in the black for a little extra room in the back of the dress and I really like the added piece of design.
Step 4:
Now that we've finished our darts and pleats that we may have, it's time to sew the dress at the shoulder seams, right sides facing together, at the seam allowance you've included.
Step 5:
If you don't have a dress form, try on your dress in front of the material to figure out the drape of the front and if you've properly marked the ties for the wrap into the side seams.
If you don't have a dress form, try on your dress in front of the material to figure out the drape of the front and if you've properly marked the ties for the wrap into the side seams.
Step 6:
Grab your ribbon, and cut two pieces rather long, and mark in the side seams when you want to place them. This is for our wrap ties inside the dress.
Step 7:
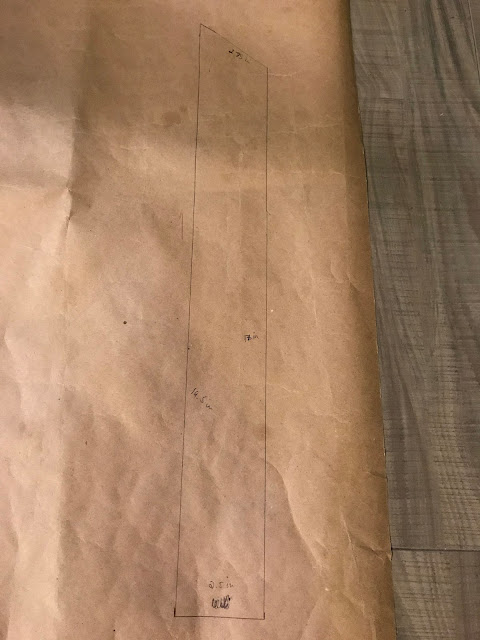
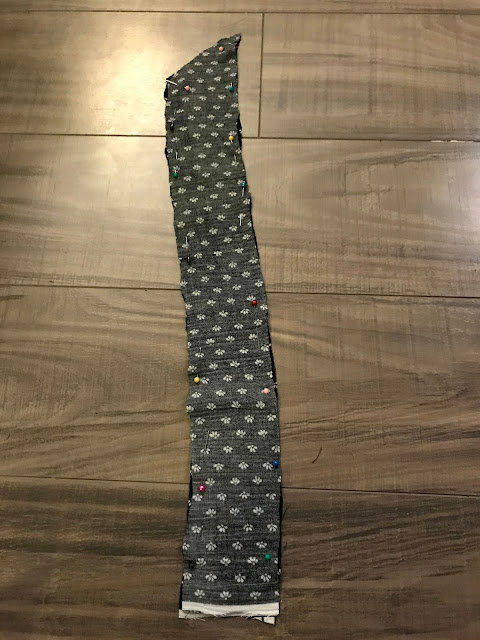
Once you've figured out the shape and made any adjustments that you may have, it's time to move onto the ties. I used the left over fabric to have a matching tie. Initially, I made my ties a lot shorter to have a thicker, fuller bow but the dress just looked way too big on me that way and I had to go back and make much longer, skinnier ties to wrap about the full dress. These pictures are for a shorter, thicker tie so make sure that the fit is flattering before committing to the short ties. I grabbed my ruler and measured the length, width, and diagonal line that I wanted with a 1 cm seam allowance. After you've determined your measurements, cut out your tie pattern and pin it to the fabric. Cut out your fabric. Now, with right sides facing, sew down the length and diagonal sections leaving the straight part of the bottom up. This is so you can turn the fabric right side out. After you've turned it right side out, iron, and then top stitch.
Step 8:
Now that we've marked all of our ties, we need to sew down the sides of the dress. Make sure that all of your ties of facing the right direction right side out.
Now that we've marked all of our ties, we need to sew down the sides of the dress. Make sure that all of your ties of facing the right direction right side out.
Step 9:
We're almost done! Now, we'll want to grab our pack of bias tape and hem the dress. I used the bias in the arms, neck, and sides. I had white bias at home but I really wish that I went to the store to get black since it would match a lot better. To hem the bottom, I just gave it a roll hem where I folded the fabric a 1/2", folded it a half 1/2" again, and the stitched close to the edges.
We're almost done! Now, we'll want to grab our pack of bias tape and hem the dress. I used the bias in the arms, neck, and sides. I had white bias at home but I really wish that I went to the store to get black since it would match a lot better. To hem the bottom, I just gave it a roll hem where I folded the fabric a 1/2", folded it a half 1/2" again, and the stitched close to the edges.
All hemmed and ready to go?! Your dress should look something like this!
I hope that you enjoyed this week's summer dress tutorial and if you decide to make your own, please send me a photo - I would love, love to see it!












No comments :
Post a Comment