This week I sewed a set of highly functional, yet stylish burp clothes. I know that baby tutorials are a dime a dozen and that baby burp cloths have been done a hundred times over, but I really wanted to share this with you because of how much this project meant to me. I also do my burp cloths quite a bit differently so if you haven't fallen in love with a specific tutorial, maybe this will work for you!
Before we dive in, here is a little background on why this project was so special. A close friend of mine, more like a sister, is expecting her fourth baby - a baby girl (fun fact, her baby girl is due on my birthday!) This friend and I became fast friends when were little girls in elementary school and it's been such an amazing experience to grow and share life with each other as we've become older. Our friendship has always been such an answer to prayer and a blessing in my life so you can imagine how over the moon, crazy excited I was to learn that we were having babies within three months of each other!
Of course, I started thinking about what to get her right away. I knew that I wanted to do something that was lovingly made for her little one, trendy/modern, not overly pink, and something with a lot of use so when she mentioned that she still needed things for everyday, the idea of making burp cloths started to formulate in my mind.
I have to admit that I am not in love with store bought burp cloths because they are either not absorbent enough, too small, or really ugly and they aren't something that I typically want to wear on my shoulder in public. Because of these dislikes, I decided to make my own for Hugo following a tutorial from Pinterest that was really cute, however once Hugo was born and I started using them, I remember being annoyed with my burp cloths because they were too small so we would often miss the cloth and get our clothes. Or, he would have a lot of spit up and I would pick up the cloth, in a hurry, only to find spit up in my hand because it just sat on top of the material. These experiences led me to play around with the design and material until I found something that yielded the kind of functionality that I wanted while still looking pretty darn cute which is why I love these so much and knew they were the perfect gift for moms to be!
Want to make your own set of burp cloths? Keep scrolling for this tutorial! *Updated 12/2017 for better photos and little changes.
Want to make your own set of burp cloths? Keep scrolling for this tutorial! *Updated 12/2017 for better photos and little changes.
Materials:
- Sewing machine
- Fabric scissors
- Ruler
- Tracing Paper or gift wrap
- Fabric marker (I couldn't find mine and just used a sharpie)
- Coordinating thread
Fabric:
- Cotton fabric
- Poly-terry cloth
*I bought 1/2 a yard of each cotton print and a yard and a half of poly-terry. I was able to make 6 burp cloths and had a little left for bandanna bibs too.
Step 1:
You'll want to create your pattern with a large sized piece of paper (I use gift wrap) and a ruler. The measurements are 17 x 13.5" with a 5/8" seam allowance included.
Step 2:
Pin your pattern to the fabric and cut out your pieces.
Step 3:
Once all of your fabric is cut, place your fabric right sides together and pin.
Once all of your fabric is cut, place your fabric right sides together and pin.
Step 4:
Sew your seams together at 5/8", leaving a 2-3 inch space to turn the burp cloth right side out. Trim the allowance and clip the corners.
Step 6:
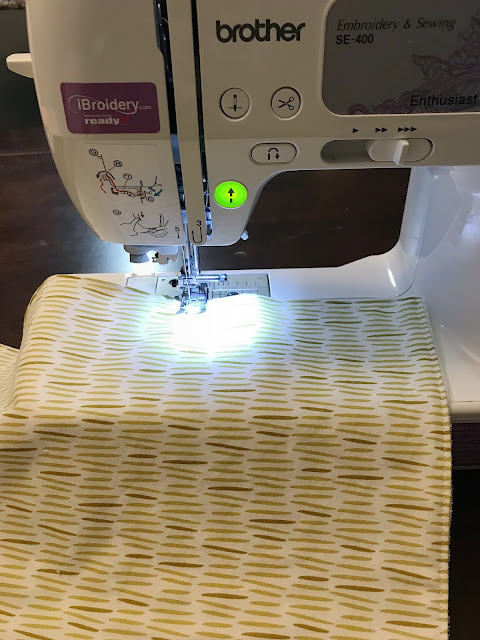
Lengthen your stitch for a nice top stitch and sew along the edges of the burp cloth. I place mine at a 1/4" and move my needle over 2-2.5 mm. I've also noticed that if you don't stitch in the middle of the cloth, the material will be a little flappy. You can choose any way to secure it, but I've found that sewing two lines down the side of the burp cloth where you fold looks the nicest and less busy.
Voila, you've finished!


great tutorial!!! now you just need to teach me how to work my sewing machine lol
ReplyDeleteConfessions of a Frumpy Mommy
Thanks! I'm still learning how to navigate mine too haha :)
Delete