About a month ago or so, I purchased a new set of onesies for Hugo on clearance at H&M. H&M is my favorite store for baby clothes because they last longer than any brand that we've used with Hugo bear and it's not nearly as expensive in relation to other stores. (Yayer!) It was however, a sad day when his white striped onesie was stained during lunchtime (the week after purchase, ugh!) and no amount of oxiclean or soaking was going to save the areas heavily stained. Darn those lunchtime mandarins!
I really didn't want to throw it out since I literally just bought it and since the staining was isolated on the sleeves, I knew that I could upcycle the onesie into something else for the Hugo bear! So, the onesie sat on my dresser for awhile as I thought about what to make with it.
Soon enough, it was getting rather cold outside and I was always searching for a hat. He does have a couple of winter hats already though they're both red and sometimes having more options is nice - so we made a knotted hat!
Truthfully, I've never made a hat before... let alone the knotted hat that you see everywhere. I winged it, a lot, and luckily it still came out just fine! It was a pretty easy and quick upcycle, even with all of the guess work. So, without further ado, here is how you make those on trend knotted hats but from a onesie!
Materials:
Materials:
Old onesie (or knit material)
Fabric marker or pencil
Pins
Thread
Fabric Scissors
Step 1:
Grab your onesie.
Step 2:
Flip it inside out.
Step 3:
Draw out the shape of the hat that you want. Note that depending on the size on the onesie and the size of your child, you may not get a long knot. I made Hugo's hat slightly larger than his head so he could wear it more which meant that I lost a good deal of length for the knot.
Step 4:
Cut it out!
Step 5:
Sew your sides w/a 5/8ths seam allowance. Flip right side out and knot.
Step 6:
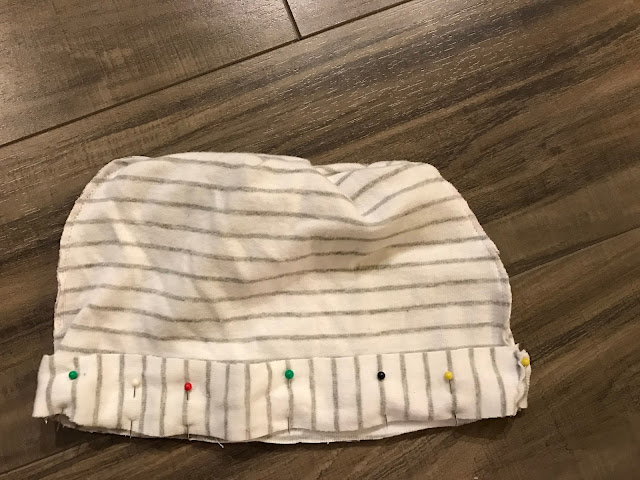
Flip hat inside out and then cut off a sleeve and open it up to cut out 2 rectangles to go around the hat. Pin and sew the ends of the rectangles together.
Step 7:
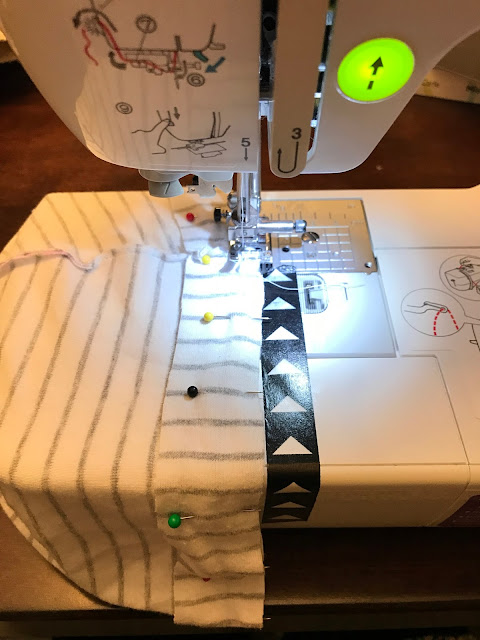
Pin the raw edges to your hat, matching seams and sew a 1/4" around.
Step 8:
This step is optional, depending on the look you prefer. I like a clean look so I also folded over the edges of the flap of the hat and sewed a top stitch around. You could serge or leave the edges raw and fold up, depending on which look you like best.
Here is Hugo bear enjoying his little hat. I do have to admit, that somehow I deleted the photos I edited off of my IPhone and I didn't have them backed up! Another sad day, but a few survived - somehow.


No comments :
Post a Comment