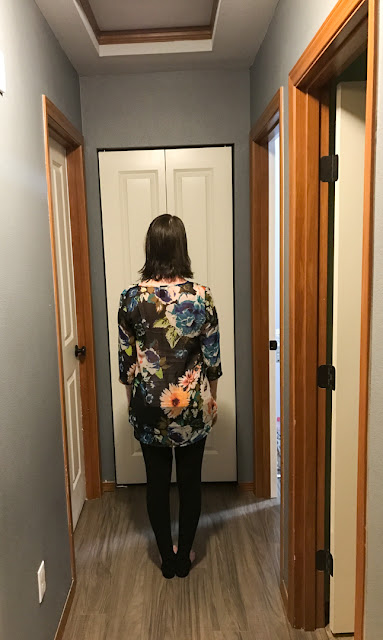
Like I said this week is a little backwards so today it's Transformation Tuesday, except on a Thursday!
I've had this shirt for years. It's a thrifted H&M top that I found for $5.99 at one of my favorite Goodwills when I was living much closer to the city. The floral print of this shirt is what really drew me in a few years ago and I still love it just as much. Since I have a habit of repeat wearing my favorite clothing items (and ignoring the rest of my closet in the process) I was starting to get a little bored with the style of this shirt so I tossed it into the "do something with this" pile.
Initially, I was thinking that it would be nice to convert into a summer top because of the sheer fabric, flow, and colors of the pattern but I really wanted something that I could wear now. A popular style that I've seemed to notice everywhere, is the peasant top with a deep vneck and crisscross detail in the front. I've looked at a few with the intent to purchase but the cost stops me in my tracks every single time.
What to do, what to do.
That's when the idea came to me that my old thrifted H&M top would be perfect for this look. I just needed to make a couple of tweaks and just like that the shirt had a completely different look to it - youthful and trendy. Another thing that I love about this shirt is that I can still update it when I get bored in the future and it's super easy to remove the crisscross detail when it's no longer "cool."
Here's what it looked like before:
And here's how I updated it:
Step 1:
The back was longer than the front and I wanted to even the shirt out to make it less bulky when tucked. Plus, I wanted the back hem for later.
Step 2:
I hemmed it, like a boss!
Step 3:
I cut out the back hem and then cut 6 small pieces for loops on the V-neck. After that, I tried on my shirt and marked the placement for my loops. I pinned and then sewed them along the original seam.
Step 4:
I pulled out some black fabric that I thrifted and cut a strip. I folded the fabric to the middle from both ends and then folded that in half to make it smaller as well as avoid future fraying. I sewed the cord and then cleaned up any old fraying.
Step 5:
Thread your cord through the loops.


No comments :
Post a Comment