I can't believe that it's been almost a month since I've updated the blog!
Life has been crazy. Hugo was sick for a couple of weeks and then shortly after the terrible twos found us early. Like, super early and it is exhausting. I find myself trying to sleep whenever possible which means that the majority of my sewing projects have been neglected. Eek! We are trying to find a better routine to make things a little easier on the bear (and his parents) but it's a work in progress.
If you've been following my blog, you probably remember the post that I shared about Hugo's updated car seat. Well, his car seat is officially expiring next month so we purchased a Maxi Cosi and are waiting for it to come in!
We are so excited because he loved his Orbit infant car seat so much and he had a hard time adjusting to the one he's currently in. He doesn't enjoy being in the car very much, anymore. Initially, we thought that we would eventually purchase the Orbit toddler seat however, after checking out a display in person, we were really unimpressed and kind of surprised by the difference in quality. Luck would have it that a Maxi Cosi was literally right next to the Orbit display and we liked their toddler seat right away so we went home, did our research, and decided that it was the one.
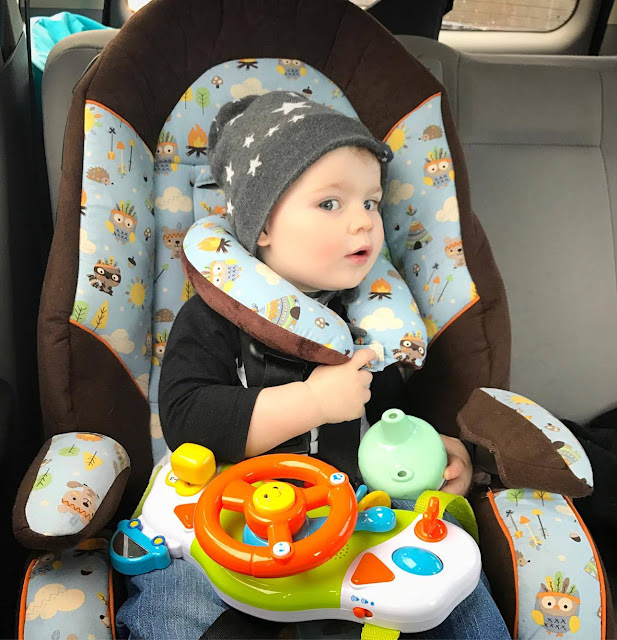
Since the one is due to arrive any day now, I decided to make this transition a little more special by making bear-bear a few car accessories from left over fabric used from his current car seat. One of which is this do it yourself car seat pillow! It's seriously so easy to do - my kind of DIY!
Here's what you need to get started:
1/4 yd contrast fabric
1/4 yd main fabric
Poly-fil
Snaps or sew in elastic
All set? Let's get started!
Step 1:
Determine the size of your pillow. I started with the inside of the neck sizing. Hugo is a busy boy and getting a measurement would be tough stuff so I just measured the collar of his shirt and added a couple of inches. My measurement was 16 inches. On the back of my contrast fabric, I sketched a half moon shape and used a drinking glass to round off the ends. Once the ends were round, I used measuring tape to mark 4 inches across moving along the half moon shape. It will look something like this:
Step 2:
Cut out your contrast fabric and use as a template for the main fabric. Make sure that right sides are facing when cutting it out.
Step 3:
Now it's time to measure and cut out 4 tabs. My tabs are 2 inches wide and 2 inches long. For extra durability, you can cut out 2 tabs of interface as well.
Step 4:
Take 2 of your tabs and pin them together with right sides facing. Do this for the other set of tabs as well. Now it's time to take them to the sewing machine! I sewed 1/4" down three sides leaving the fourth side open to turn right side out.
Step 6:
Now it's time to fancy the tabs up a bit with a top stitch.
Step 7:
Now that we've finished our tabs, let's add them into our pre-cut fabric for the pillow. Insert the tabs facing towards the body of the pillow with the right sides facing.
Step 8:
Sew it all together with a 1/4" seam allowance leaving a space to turn the pillow right side out.
Step 9:
Time to stuff with the pillow with your poly-fil! Once your pillow is stuffed, ladder stitch the opening closed.
We're almost down! We've just got to add our snaps in the center.
Ta-da!! You're all done! We tried the car seat pillow out this afternoon when we were running errands and our little bear loved it!
 |
| Oh my goodness, this cute little bear! |
Have you sewed any car accessories for your little one before? Let me know and don't forget to stay tuned for the third part of this DIY car accessories mini series!


No comments :
Post a Comment