
Oh my gosh, guys. I almost didn't make another Transformation Tuesday! This was easily the hardest upcycle that I've ever done and I was literally sewing against the clock (well, my self-imposed deadline of tonight). The concept of this transformation wasn't difficult however, I cut all of my pieces two weeks before I began sewing. Of course, during that time Mr. Hugo bear had a growth spurt and I had to scrap my original design when I was 85% finished and let out all of the seams. That didn't work. I have used the seam ripper enough this week for my husband to know that if I am sitting on the couch, seam ripping and binge watching Netflix, it's going sideways.
Now that we've talked about what a wild ride this week was trying to get this transformation to work for me, let's talk about the inspiration behind this romper!
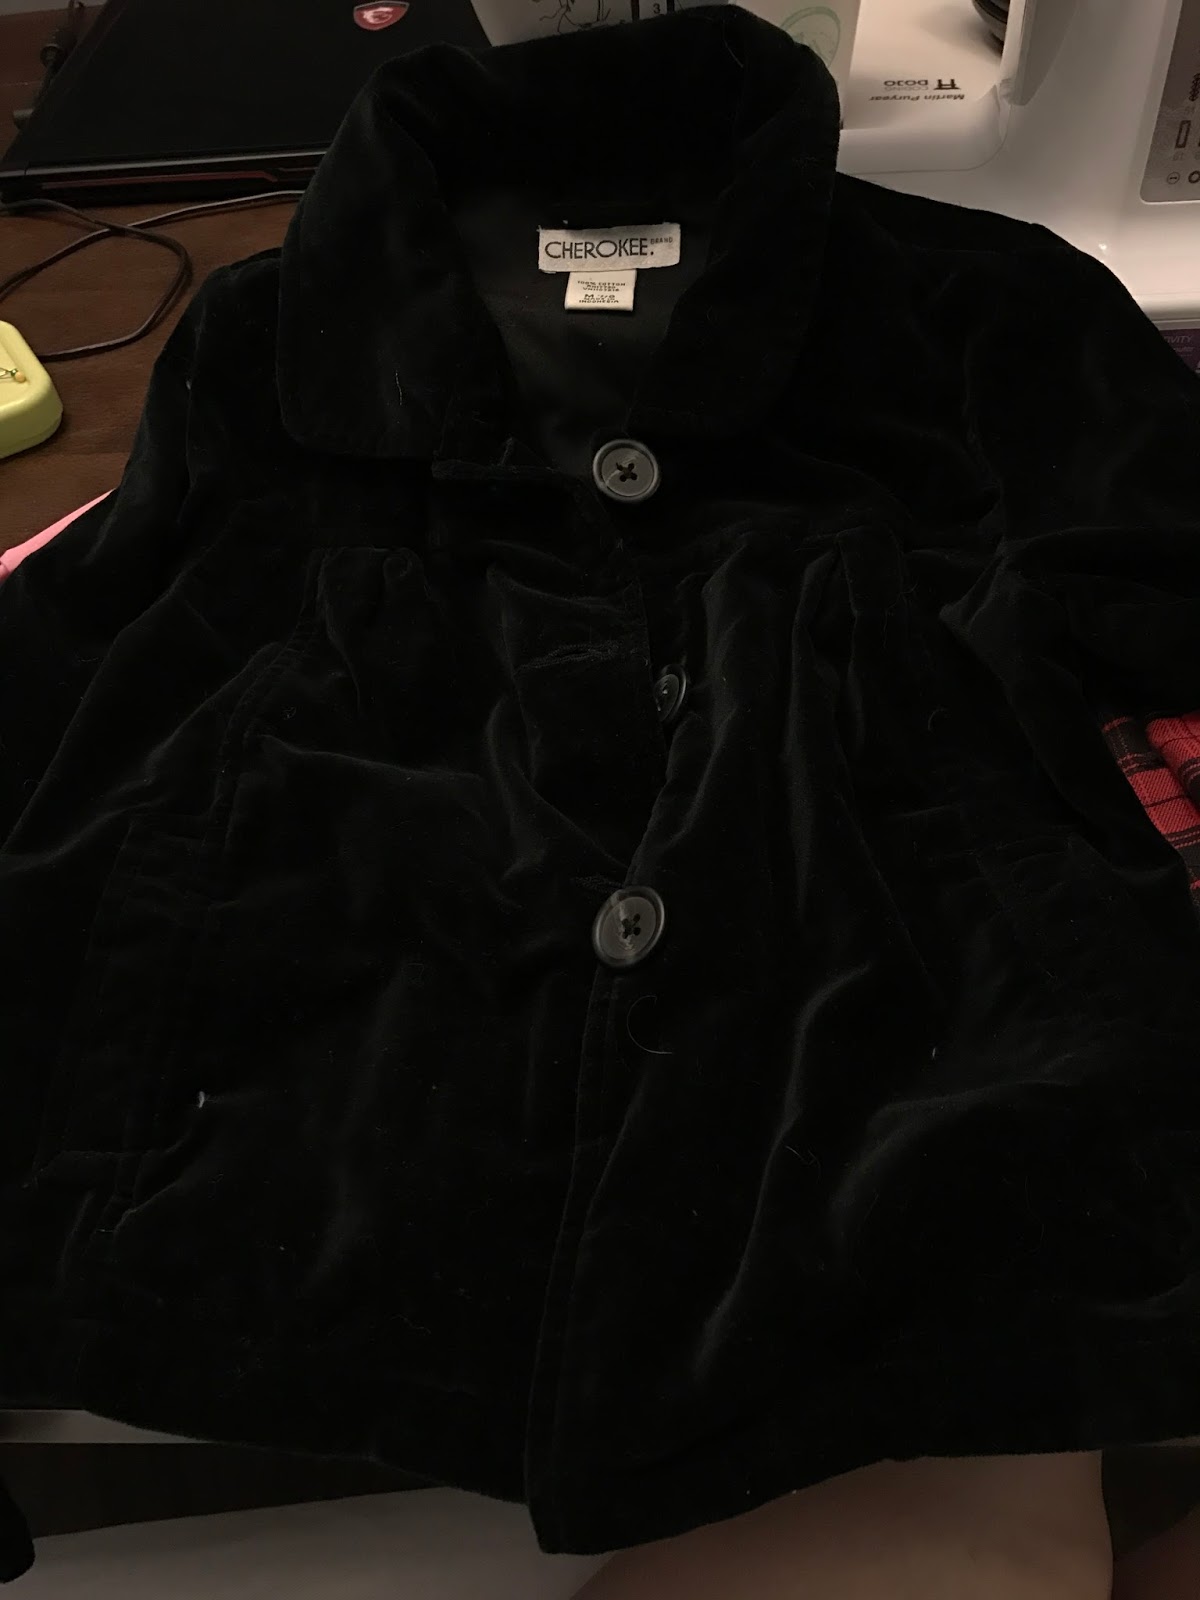
This dress was actually mine when I was a little girl. I wore it around the holidays and my mom always held onto my "special" dresses or ones that were too cute to part with. Recently, in an effort to clean up the basement for a remodel, my parents went through the boxes of our old things and my mom thought that I could do something with the fabric. So, I brought home tons of old clothes, washed them, and threw them into a pile in our craft/office room that I am
I completely forgot about the holiday dress until my mom asked me what I was going to do for Hugo's Christmas outfit and truthfully, at the time, I had no clue. I just knew that I was going to make it. Cuz, that's what I do, yo! Then my mom mentioned the dress and suggested that do something with it. It was definitely food for thought. How sweet would it be to see my son getting a new use from something that I had? How sweet would it be for my parents to see?
So, I designed a romper. And it was adorable.

It was pretty basic: velvet piping. geometric details on the shoulder, velvet Peter Pan collar. I loved everything about it and couldn't wait to get started.
Once, I got moving in the project, I realized that Hugo's shoulders weren't wide enough to add the geometric detail with the collar. It would throw off the size of at least one those things and it wouldn't look right. Instead, I compromised with an angular collar that is slightly built into the shoulder.
Since this was such a minor adjustment, I wasn't too concerned and continued on to the next piece where I combined the bodice and pant with the velvet piping. It. was. perfect. I loved it. I was crushed when it didn't fit. I had to scrap almost every piece of my design and just come up with something on the fly.

Luckily, I was able to come up with something and found more velvet in the stash of old clothes (thank you, Jesus!). The extra velvet was a huge lifesaver. I wouldn't have been able finish this without it.
Here is how I put the romper together, step by step, so you can do it too!
Step 1:
I took the dress apart by seam ripping it in order to maximize the amount of fabric that I had to work with.


Step 2:
I decided to work on creating a pattern for the pant portion of the romper. This part took me a few minutes because I worked very carefully to make sure that the plaid matched up.


Step 3:
Sew your pant pieces together. (If you guys want a tutorial on how to create pants, comment down below!)


Step 4:
This is wear I am still learning, a lot. I don't know how to draft my own bodices and I was not about to experiment with limited material so I pulled out my Simplicity 8098. Woo hoo for frankenpatterning! Once I cut my pieces, I got to work on the collar. I used pins to mark which pieces were the actual fabric and which pieces were meant for the lining. I did this because the actual fabric lined up whereas the lining didn't because I was running out of material at this point.
I made rectangles, cut notches to shape the collar, pinned, and baste stitched the collar to the bodice.


Step 5:
Connect the shoulder seams.


Repeat step 5 for the lining.

Step 7:
Sew the lining and bodice together and open up, right sides facing. Iron, iron, iron.


Step 8:
Then, measure how thick you want the cuff to be on your sleeves. Attach the cuff, fold over, and top stitch. Attach to the bodice and sew.


Step 9:
Turn inside out and sew an L shape starting from the sleeve to the end of the bodice. Turn right side out and iron.


Step 10:
This is where I had to go back and let out the seams which didn't work. Instead of the velvet piping, I found a velvet coat in my pile and removed a sleeve to create a band. I re-measured Hugo and the romper to figure out the additional length that I needed. There was about a 2 inch difference therefore I cut out a band of 3.5 inches for seam allowance and room.

Step 11:
Then I attached the band to the bodice and the pant portion.


Step 12:
At the last minute, I decide to add a velvet cuff to the bottom of the romper to match the collar. I measured the amount that I needed, sewed the raw edges together, pinned to the pant bottoms, folded over, and topstitched while reinforcing old seams.


Step 13:
I found velvet buttons in my button jar from a different dress that would work perfectly for this outfit and arranged my buttons on the back, marking with a water soluble pen. Sew your buttons on.

Step 14:
Now, this is where I had to get really creative because initially, I had a very petite looking design. The changes left me with a petite collar and thick band. I needed to add balance. To do this, I embroidered snowflakes. Each snowflake took at least an hour to do and completely freehanded during the process. I used sparkly gold embroidery floss.


And here is the finished product! Right after, we went to go see Santa so I only have a couple of photos with Hugo wearing the romper. Hopefully I'll be able to get a few more. He just moves so quickly these days and is one busy little bee.


I love this modern take on a vintage classic! I'm all about up cycling too :)
ReplyDeletexo Gennifer
www.GenniferRose.com
Thank you! I love upcycling. I feel like there are so many benefits to repurposing things. :)
DeleteThat is absolutely darling!!
ReplyDeleteThank you so much! :)
DeleteThis is so cute! My husband bought me a sewing machine a year ago and I have yet to make much use of it yet.
ReplyDeleteIt took me a while to really use my machine too. I was too busy! If you have time, you should give it a go! There are so many cute things out there to sew that it becomes addicting really fast! haha. :)
DeleteI love it! So creative and pretty! :)
ReplyDeleteThank you so much! :)
Delete