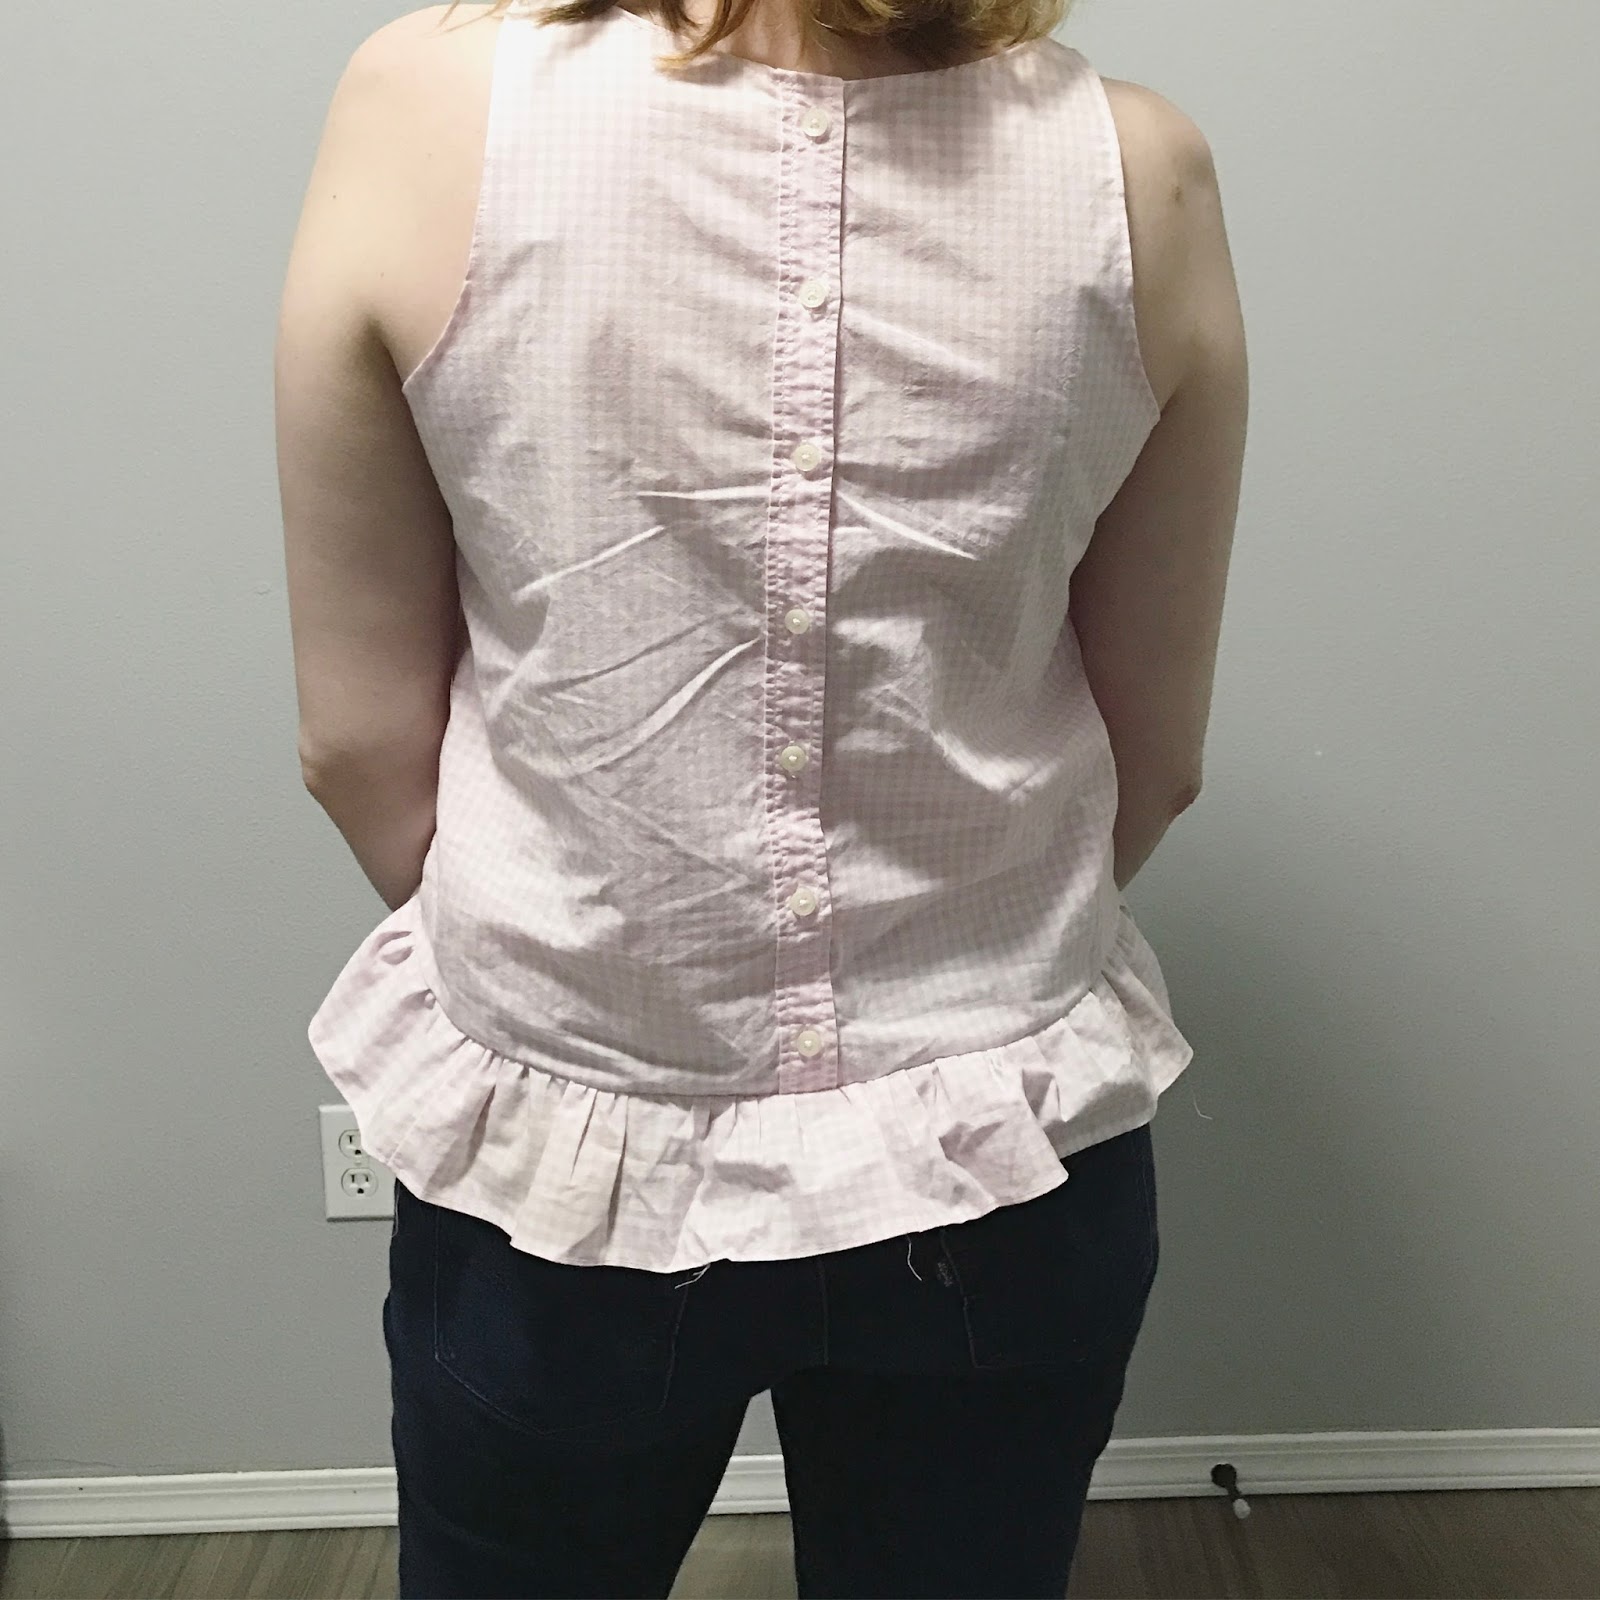
I am so excited that spring is finally here! Every where you look, there are fresh leaves, flowers blooming, and sunshine! Thank heaven for sunshine!
There's no better way to celebrate than with this season's staples: gingham, ruffles, and a crop. I've been wanting to try out a crop top for awhile but, I'll be honest, I hate working out and I love cookies so most crop tops don't flatter my shape. However, this design is belly friendly for those of us who want to wear a crop and eat our cake too!
First, you need an old button up shirt. Mine is an old button up that I bought from JCP on clearance for less than $5, I loved the soft pink.
Then, depending on fit, you want to seam rip all of the seams. My shirt was an xs so it was already form fitting and I needed to keep all of the material. If the shirt is loose, cutting the seams is much faster!
Now, for the fun part! Button the front of the shirt together again - this going to become our back panel.
Now let's fold this panel in half. Grab a nice fitting tank, fold it in half, and use it as your guide to cut your top.
Let's do the same thing for the front panel!
Then we want to sew the front and back panels together. I started with the shoulders.
After sewing the shoulder straps, let's move onto the sides Flip it inside out.
It's time to figure out how much of a crop we want. I preferred a slight crop but you can definitely go higher here, or not crop at all. I also evened out the back for a softer looking curve.
After you've got your shape cut out, grab those sleeves! Since there is a cut out in the middle of my sleeve, I measured the width which was 3 inches. I made 3 inch wide strips all the way down the sleeve and trimmed them to be equal in length.
Sew all of the strips together to form one long strip. This is going to be our ruffle.
Next, hem the bottom and top stitch.
Baste all the way down the strip.
It's time create our gathers!
Pin it to the bottom of the shirt, right sides facing, and matching seams whenever possible.
Now it's time to sew it all together!
Here's what it will look like:
The only thing left to do is hem the sleeves and the neckline!
Here is the shirt in action....
Pictures are still a work in progress and am working hard on getting that fixed (I promise). Until then, the struggle remains!


No comments :
Post a Comment